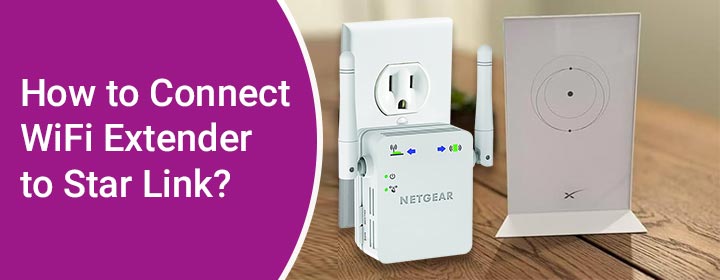
In this blog, you will get to know about how to connect WiFi extender to Starlink router. This process is easy but important, so you should follow correct instructions to make the link.
The Netgear extender setup includes physical linking through the Ethernet cable and configuration method through your computer. We will also provide tips and solutions, if Netgear extender to Starlink connection failed.
Connect WiFi extender to StarLink
You can link the extender to the Starlink router with the help of cable. Let’s take a look how you can do it.
Physical Linking
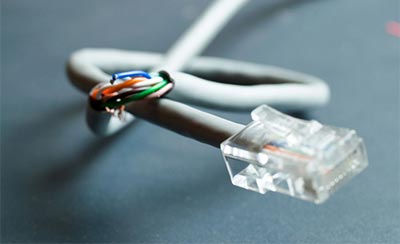
- Use an Ethernet cable and find the Starlink router LAN1 port.
- Then, connect the extender WAN port to the LAN port using cable.
- After making a connection, you have to turn on the extender by plugging it in wall socket.
Now, the time comes to configure the Netgear extender with the help of your computer or laptop. Next section will explain how you can do it.
Configure Extender
You must link your computer or laptop to the extender by using the LAN cable that should be in good condition. Then, follow up some of the instructions written down here.
- You have to choose any of the updated web browsers in your computer or laptop.
- Enter the login URL mywifiext.net or IP 192.168.1.250 in address bar.
- Now, you have to search it, which will take you to the login page of the interface.
- Here, just type in the username and password that given on the label or in the user manual of extender.
- Then, click on the Log In button and reach to the extender interface page.
- From this interface page, you can easilymanage the settings and networks.
If your connected network is not working fine or not working, then you can use these tips and solutions to dispel the problem.
What to Do When Link Not Works?
We will provide five tips that you can use to solve the mentioned problem in this section. So, let’s go through them one by one.
Check for Network Blockage
Networking interruptions can be cause by electronic devices, which use electromagnetic waves. So, you have to make sure that the extender and its connected router is not places near to any electronic devices. If you find one near repeater, then change the location of it.
Don’t use Damaged Ethernet Cable
Damaged cables like Ethernet and power cord can interrupt electricity as well as internet connectivity. So, you should check the cables connected to the router and modem, and if you find any cut on the cables then disconnect it. You have to replace it with a new one.
Log in Via Up-to-Date Browser
You must search the IP address on an updated web browser to reach to the login page of the interface. To update the browser just follow some easy steps.
- Open the browser settings and select About tab in it.
- Here you can update the browser to its latest version.
Reboot Netgear Extender
By rebooting the extender system will refreshed, you can do it by unplug the extender and plugging it again in the electric wall socket.
If the problem won’t dispel by applying these above-written tips, then you can reset the extender by long pressing the RESET button.
After dispelling the problem, you also check for Netgear firmware update in the interface and update it if available.
Ending Note Lines
Here, in this post, you have seen and learned how to connect extender to Starlink with the help of simple instructions. We have also shared some tips and solutions so that you can use them to if connection fails.