There are easy steps to connect Netgear WiFi extender with travel router. We will explain the physical connection between extender and router.
Then, you will get to know how to configure the extender via your computer or phone to complete the Netgear WiFi extender setup.
Connect Netgear Extender to Travel Router
Link Using Ethernet Cable
- Place the extender near to the travel router.
- You have to find router LAN port and extender WAN port.
- Connect both the ports with the Ethernet cable.
Then, turn on the router and extender. You can also connect the devices without using any cable.
Connect Using WPS Method
- Turn in the extender by plugging it in the wall socket first.
- Then, locate and press the router WPS button first and then hit the same on extender.
- Both the devices connect automatically without using any cable.
The connection is not established yet, you have to configure the Netgear WiFi range extender, which you can do with computer as well as phone.
Configure Netgear Extender with Computer
- Connect a computer or laptop to the router with LAN cable.
- Choose web browser which is up to date and search the URL mywifiext.net or IP 192,168.1.250.
- Login window will open, where you have to enter the username and password.
- Admin credentials will find on the label or in user manual of the Netgear extender.
- Type the credentials and click on the Log In button, this action will take you to the interface page.
Here, you can adjust the settings and networks, which helps you to setup the Netgear extender. You can do this same task using your phone.
Configure Netgear Extender with Phone
- You have to download the Netgear Nighthawk app in your phone.
- Connect the phone to the extender network by using the SSID credentials.
- Then, select play store (Smartphone) or App store (iPhone) to download.
- Search for Nighthawk app and install in your phone.
- Open the app, enter the admin credentials, and access the interface.
- By accessing the interface you will able to manage the extender settings and networks.
Now, you can easily connect with the Netgear network with the help of the SSID details.
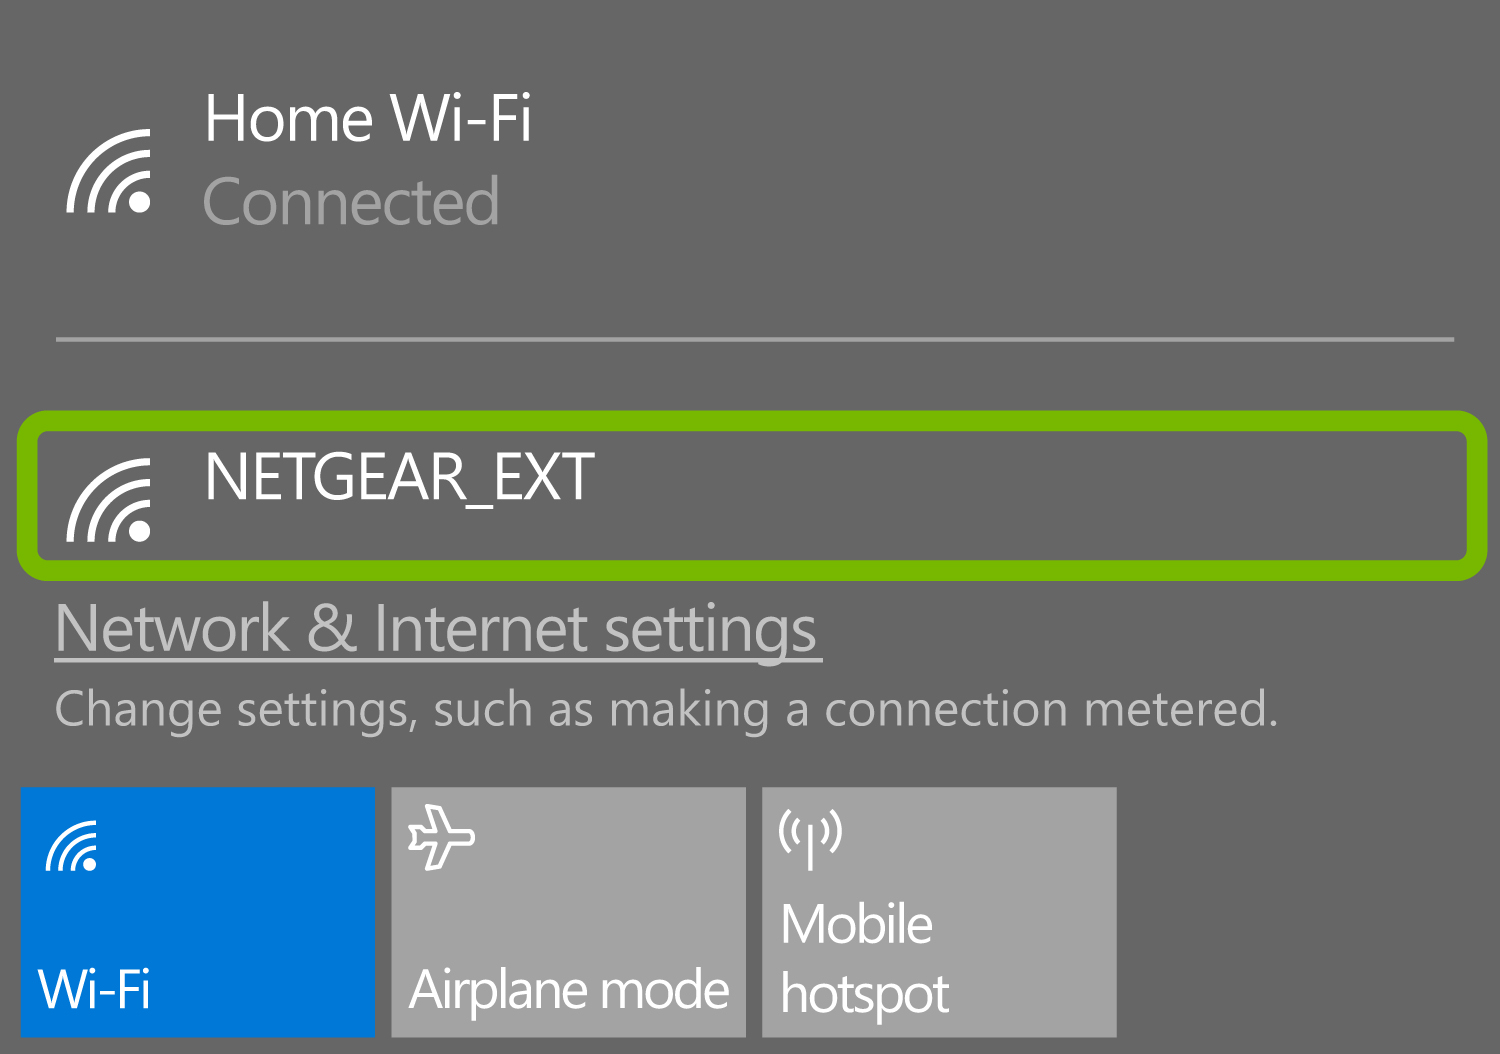
Link to Netgear_ext Network
You can link to the Netgear¬_ext network easily, but for security reasons, you must change the WiFi password or username. Follow some of the steps to change the password.
- You have to log in to the interface; you can use phone or computer.
- Select Settings in the interface dashboard, and go to the Wireless tab.
- You will see WiFi username and password fields; just edit which one you want to change.
- You must type in your desired password, it must be strong and in case-sensitive.
After that, just save the changes by clicking OK button. Now, you can connect to the Netgear_ext network securely.
If the Netgear_ext not showing up in phone WiFi settings, then reboot the device to apply all the configuration settings.
How to Reboot Netgear WiFi Extender?
Rebooting the WiFi extender will refresh all the settings and networks. If you change or update the networking device, then you must restart the extender once.
You can restart the device by applying two methods given down here.
- Unplug the extender from the wall socket and plug it again to restart the device.
- Find the power button, press it twice, once to turn off the device, and twice to the restart.
Thoughts Lines
Above, you have seen and learned how to connect Netgear WiFi extender with travel router. We have provided how to configure the extender, how to change the Netgear_ext network password, and how to reboot the extender.