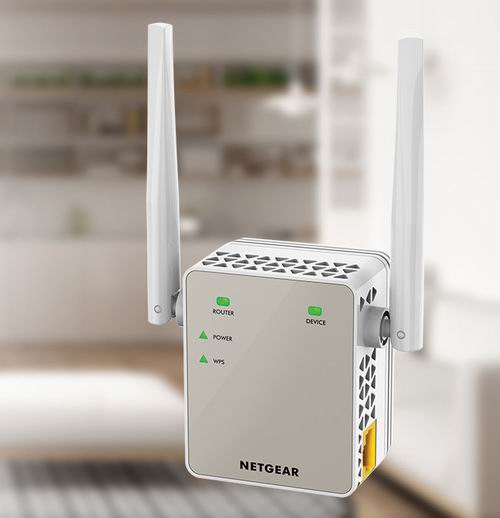
If you want to extend the WiFi range of your dual-band router, a Netgear EX6120 will be an ideal choice. This dual-band range extender is capable of filling the internet dead zones in your house with WiFi speeds up to 1200Mbps. If you want to learn about Netgear EX6120 setup and management process, the information given on this page will surely be helpful for you. Apart from Netgear extender setup, we will also shed light on the reset process of the dual-band extender.
How to Set Up Netgear EX6120?
There are two methods of setting up the extender. The first one is the WPS method in which you need to press the extender’s WPS button followed by the push of the router’s WPS button. This will complete the installation process. On the other hand, the second method requires accessing the local interface of the extender. Here’s how you can set up the extender.
- Place the EX6120 in the same room as the router.
- If you are replacing your existing extender, we recommend you plug in your Netgear extender into its socket.
- Now, power cycle the router and power up the extender.
- When the lights on your extender become steady, connect a PC to its WiFi network.
- The default network name of EX6120 extender is Netgear_EXT and the WiFi password is given on its label.
- Open a web browser and go to mywifiext.net.
- The extender’s setup interface will now open. Here, click New Extender Setup.
- Access the Terms and Conditions.
- When the extender scans for the network to be extended, choose the WiFi name that belongs to your router.
- Thereafter, enter the WiFi password and follow the on-screen prompts to modify other settings of the Netgear EX6120 AC1200 extender.
How to Log in to Netgear EX6120 Extender?
After the setup process, you can change various settings of the extender from the menu. You can also register the extender at MyNetgear portal. However, this requires you to login to the extender. Follow the below-given steps to login to your extender:
- Open an internet browser on a computer connected to your Netgear extender.
- Once done, type the default web address mywifiext.net or the IP address 192.168.1.250.
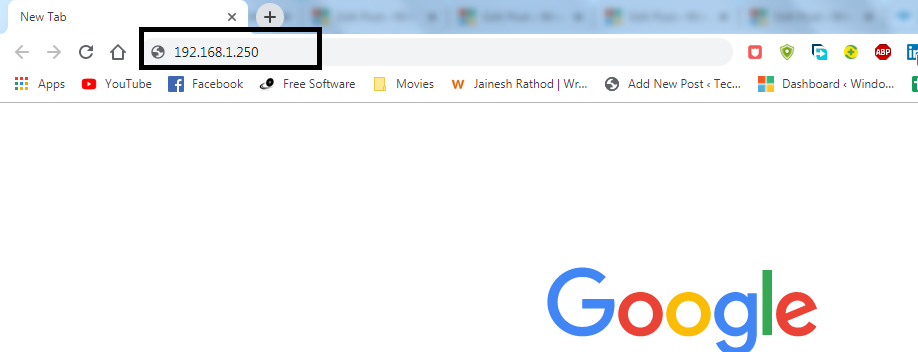
- Press Enter.
- When the login page opens, type admin and password into the Username and Password fields.
- If you changed the login details during the setup process, use those details.
- Click the Log In button.
- The Netgear extender dashboard will appear.
- Change the extender’s settings by clicking Menu.
In this manner, you can log in to your Netgear EX6120 extender. If you are using a Linux or Mac OS, use mywifiext.local instead of mywifiext.net.