Netgear adaptors can easily connect to your home network. You just have to connect the DST router to your main router or modem via Ethernet cable. Then, link your router to the other networking adaptors via WPS and sync button.
Here, you will get to know about how to complete Netgear DST6501 setup with the help of Ethernet cable and computer.
Netgear DST6501 Adaptor Setup
By connecting the DST adaptor to your Netgear router, you can easily extender your home WiFi network. Have a look at some instructions to complete your new Netgear DST6501 setup.
Start DTS Router Network
First, you have to connect the Netgear router to the modem or main router by inserting the Ethernet cable to the DTS device WAN port. Then, press the WPS button on the router and press the same button (WPS and Sync button) on the adaptor. The DSTrouter and adaptors will connect to each other.
Connect Adaptor to Computer
You can also connect the same DTS adaptor network with the computer with the help of the LAN cable.
Link Laptop Wirelessly
To connect the DST6501 device to your laptop, just have to open the laptop WiFi settings and click on the adaptor’s network name.
So, this is how you can connect the Netgear DST6501 adaptor physically to your internet and networking devices. Now, have a look at some more instructions to complete the Netgear DST6501 setup by adjusting its settings.
Netgear DST WiFi Adaptor Login
To log in to the Netgear DST device interface, you have to use your computer (given in ‘connect adaptor to computer’ subsection).
- Choose one of the updated web browsers in your computer.
- Enter the Netgear login URL routerlogin.net in the address bar and click Search.
- You will be take to the login window of the DST interface, where you have to enter username and password.
- Use the admin username as ‘admin’ and password as ‘password’. These credentials must be in case-sensitive.
- You will reach to the interface window, where you just have to go the Remote DST Management.
- After that, update the DST adaptor firmware and WiFi settings, which you can do by clicking on the UPDATE button.
So this is how you can easily complete the Netgear DST router, now let’s see how to complete the full Netgear DST6501 setup with the help of Netgear extender login URL.
Complete DST Setup
At first, connect all the add-on adaptors to the main DST router with the help of WPS and sync button. After that, follow some easy steps to complete the Netgear DST6501 setup.
- Connect a computer to the one of the adaptors with the help of the LAN cable.
- Choose the updated web browser in the computer and search the login URL mywifiext.net.
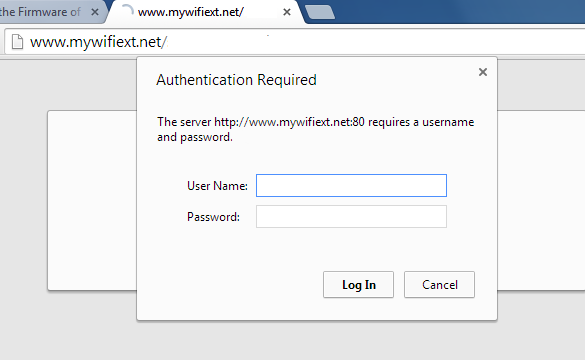
- The URL will take you to the adaptor login window, where you have to enter the username and password.
- Mainly, the admin username is ‘admin’ and password is ‘password’. Then, just click on the Log In button.
- An interface will display on computer screen, where you have to go to the ADVANCED tab and then open the DST Settings.
- Here, you have to select the radio button ‘Create New Encryption Key’. The key value must be of 8 to 63 ACSCII characters.
After setting the Encryption key, just save it all and your Add-on Netgear DST6501 setup is completed.
In Conclusion
Here, you have learned how to complete the Netgear DST6501 setup, which have a DST router and adaptors. This setup procedure includes using the login URLs routerlogin.net and mywifiext.net.